Incoming QC for Wholesale Phone Screens: A Practical Inspection Process to Cut Defects and Returns
A solid incoming QC phone screens process is the single most effective way to reduce customer comebacks and protect your repair shop's reputation. Yet most shops skip it entirely — screens go straight from the shipping box to the repair bench, and defects only surface after a customer walks out the door.
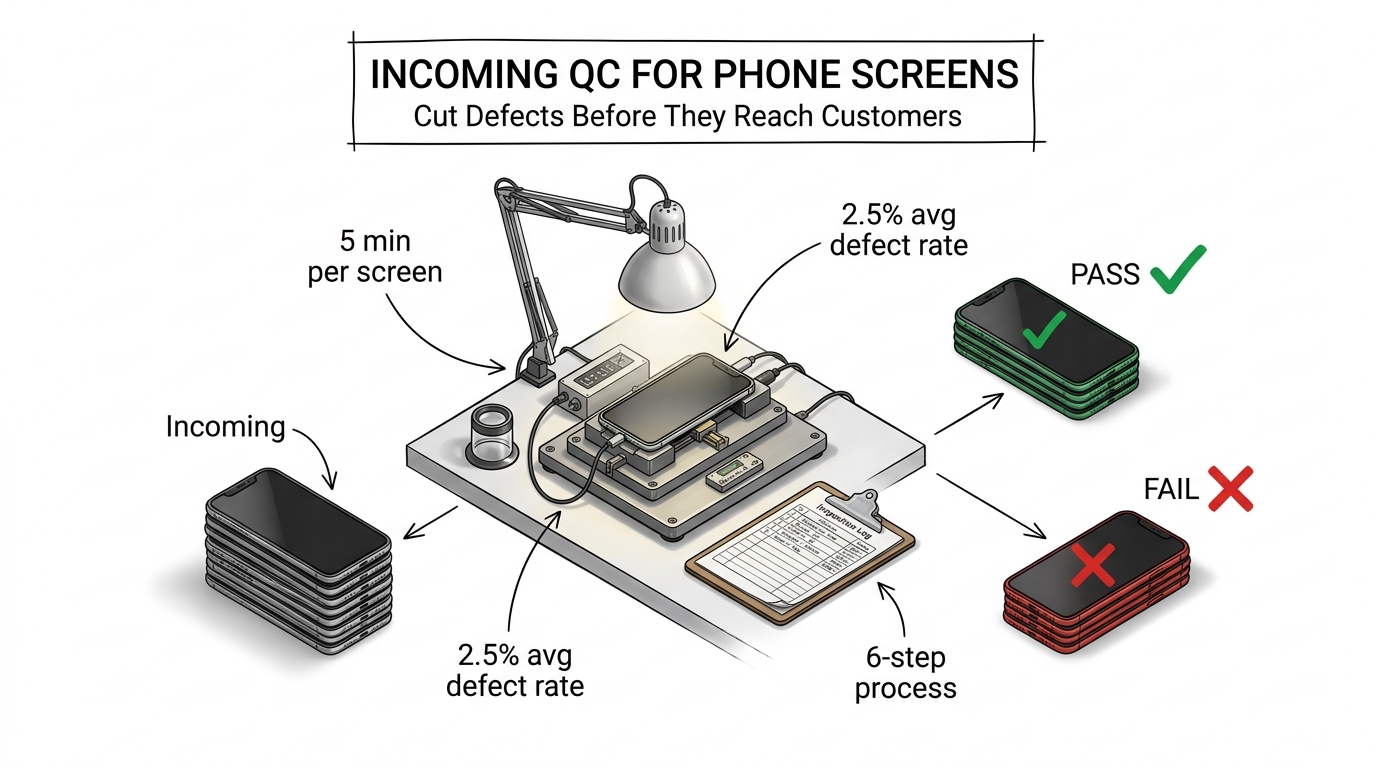
That's expensive. A defective screen discovered during incoming inspection costs you nothing — you file a warranty claim and get a credit. The same defective screen discovered after installation costs you the screen, the labor, the customer's trust, and potentially a negative review. Multiply that by the 2–3% defect rate typical of aftermarket screens, and a shop doing 100 screen repairs per month is dealing with 2–3 unhappy customers every month — unless they catch those defects first.
This guide provides a practical, step-by-step incoming QC process designed for repair shops receiving wholesale phone screens. No expensive equipment required — just a test phone, 5 minutes per screen, and a consistent process.
Sourcing Replacement Screens in Bulk?
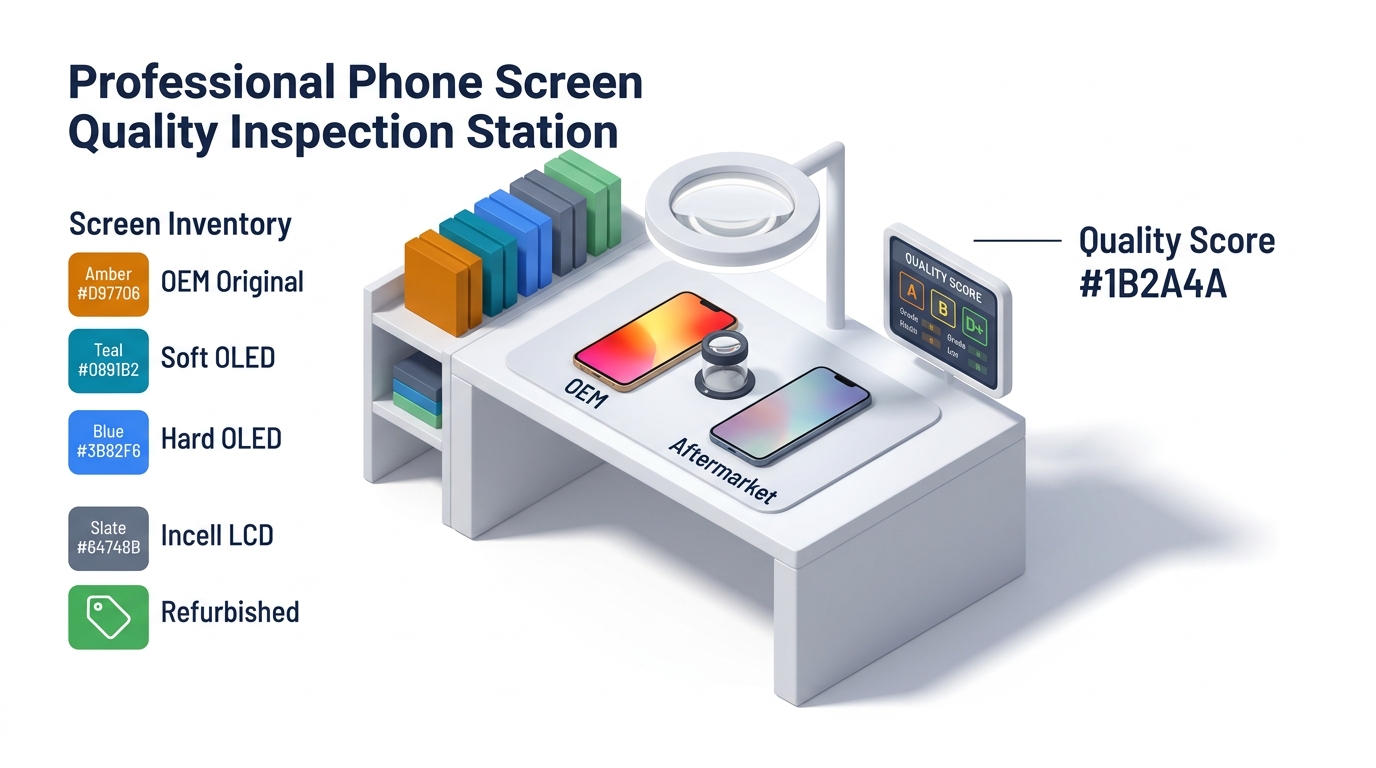
Incell / Hard OLED / Soft OLED grades — wholesale pricing, grade comparison on request.
Get Wholesale QuoteWhy Incoming QC Phone Screens Inspection Saves Money
Let's put real numbers to it. A typical repair shop scenario:
- Monthly screen orders: 100 units (mix of iPhone and Samsung)
- Average screen cost: $20
- Average repair price charged to customer: $80
- Typical aftermarket defect rate: 2.5%
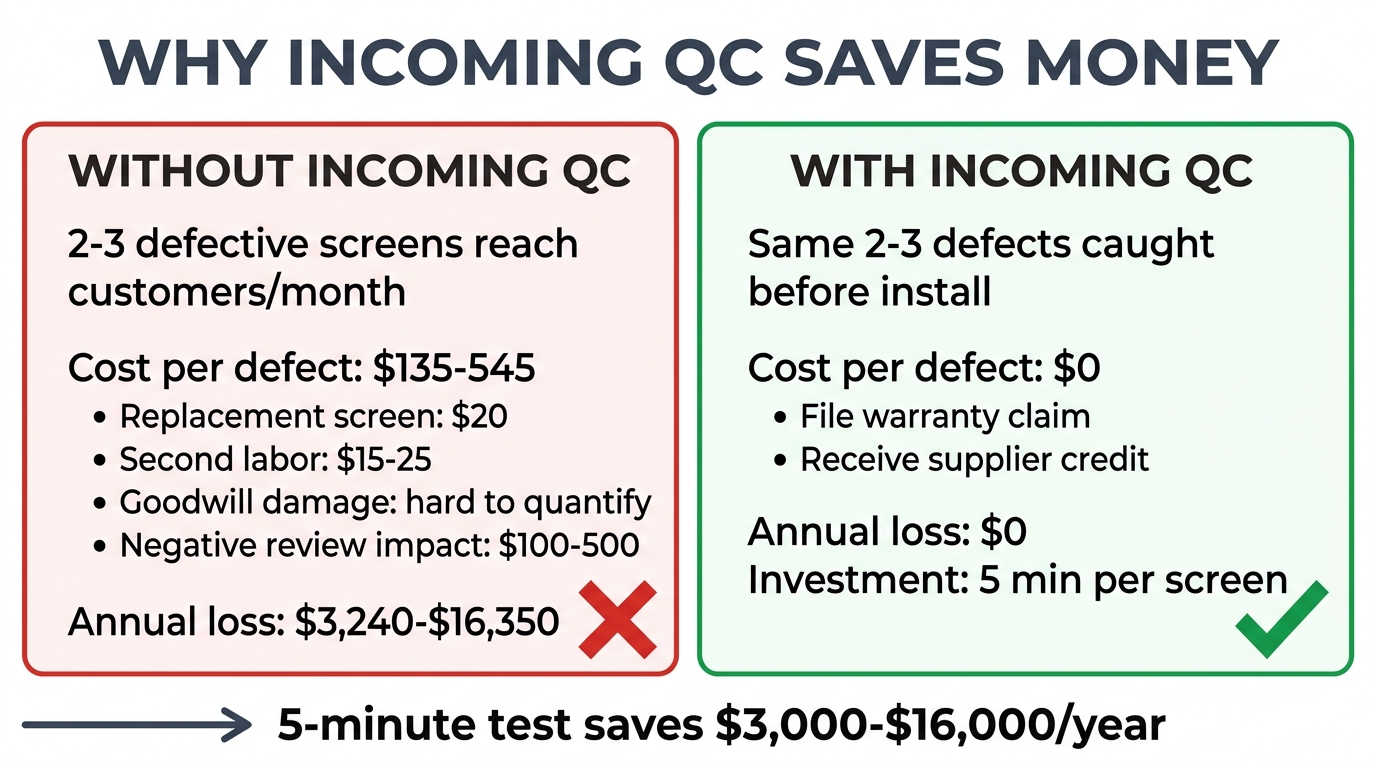
Without incoming QC, 2–3 defective screens per month reach customers. Each one costs:
| Cost Component | Amount |
|---|---|
| Replacement screen | $20 |
| Second installation labor (15–30 min) | $15–25 |
| Customer goodwill damage | Hard to quantify |
| Potential negative review impact | $100–500 in lost future revenue |
| Total per defective screen | $135–545 |
Over 12 months, that's $3,240–$16,350 in losses from defects that a 5-minute test could have caught.
With incoming QC, those same 2–3 defective screens are caught before installation. You document them, file a warranty claim with your supplier, and receive credit on your next order. Total cost: zero — just the 5 minutes you spent testing.
What You Need for Phone Screen Incoming Inspection
You don't need a lab. Here's the basic setup:
Essential Equipment
- Test phone(s): Keep one dedicated device per brand you commonly repair. An iPhone 13 or 14 and a Samsung Galaxy S22 or S23 cover most of the market. These are your permanent test fixtures — don't use them for customer repairs.
- Screen test fixture / flex cable tester (optional but recommended): A clip-on testing board that lets you power on and test a screen without fully installing it. Costs $30–80. Saves significant time compared to full installation testing.
- Good lighting: A well-lit workspace with both overhead fluorescent/LED and a desk lamp. You need consistent lighting to spot backlight bleed, color shift, and dead pixels.
- Magnifying lens or loupe (optional): Helps identify hairline cracks, micro-scratches on glass, and connector pin damage.
Documentation
- Inspection log: A simple spreadsheet tracking: date, order number, model, quantity received, quantity passed, quantity defective, defect type, photos taken (Y/N)
- Phone camera: For documenting defects when filing warranty claims
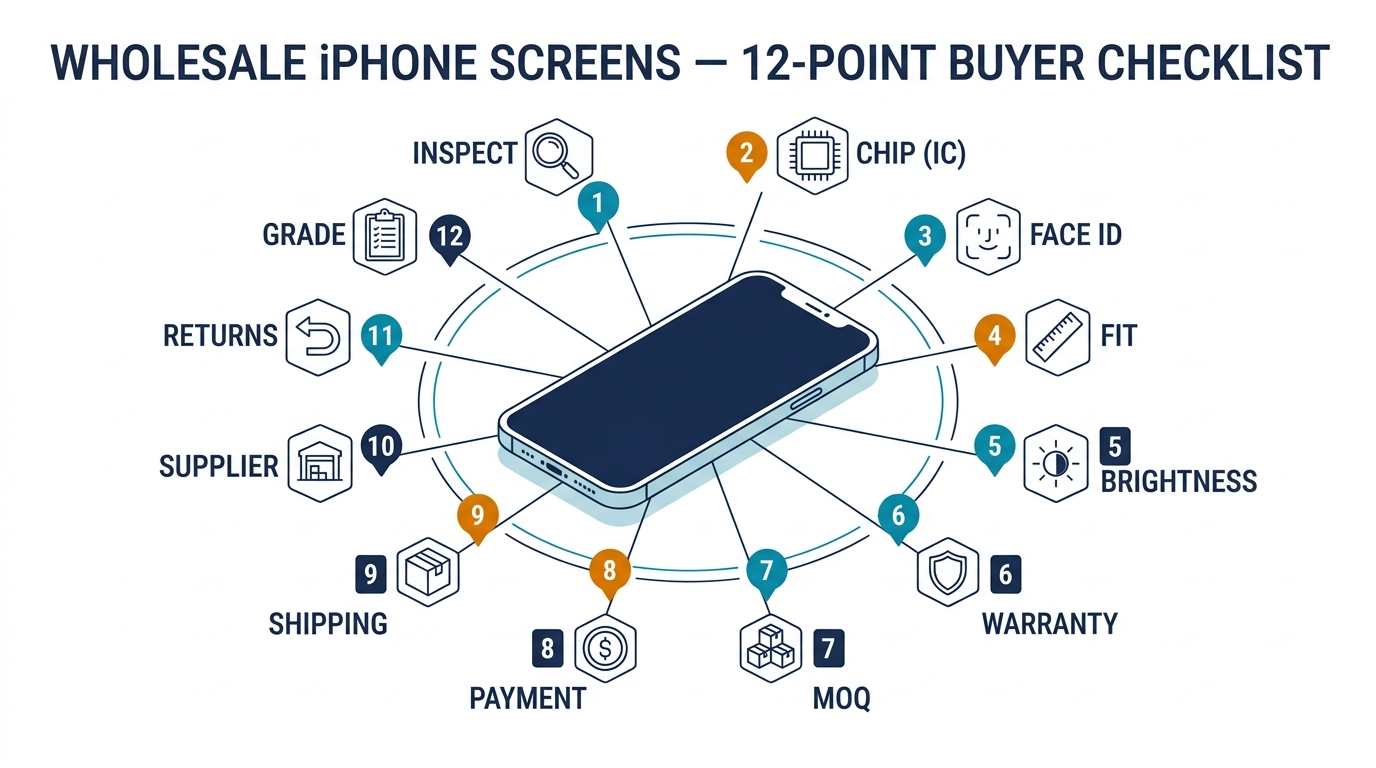
The 6-Step Incoming QC Phone Screens Process
Step 1: Package Inspection (30 seconds per screen)
Before opening individual screen packaging:
- Check the outer shipping carton for signs of rough handling — crushing, water damage, excessive tape indicating repackaging
- Count the units and verify against your packing list. Short shipments happen — catch them now, not after you've started installing
- Check individual packaging: Each screen should be in anti-static packaging with protective film on the glass. Loose screens rolling around in a box is a red flag about the supplier's handling standards
Step 2: Visual Inspection — Unpackaged (1 minute per screen)
Remove the screen from packaging and inspect without powering on:
- Glass surface: Check for scratches, chips, or hairline cracks. Hold the screen at an angle under direct light — micro-cracks that are invisible straight-on become visible at 30–45 degrees
- Frame alignment: If the screen comes with a pre-installed frame, check that it's properly seated with no gaps or misalignment. A warped frame means difficult installation
- Flex cable: Inspect the ribbon cable for kinks, tears, or bent connector pins. Gently flex it — it should be supple, not stiff or brittle. Cheap screens use thin flex cables that fail within weeks
- Adhesive: If pre-applied, check that it's evenly distributed and not contaminated with debris
- Correct model: Verify the screen matches the model you ordered. Similar-looking screens for different iPhone variants (e.g., iPhone 14 vs. 14 Pro) get mixed up more often than you'd expect
Step 3: Dry Test — Power On Without Installation (2 minutes per screen)
This is the most important step. Connect the screen to your test phone or test fixture without removing any protective film or adhesive backing.
What to check on the display:
- Power on: Does the screen light up immediately and display correctly? A screen that takes several seconds to initialize or shows static may have a driver issue
- Dead pixels: Display a pure white background, then pure black, then solid red, green, and blue. Dead pixels are most visible on solid color screens. Most suppliers allow 0–3 dead pixels as "within tolerance" — anything beyond that is a defect
- Backlight uniformity: On a white background, check for dark spots, uneven brightness, or light bleeding from edges. Slight edge bleed is normal on Incell screens; major dark patches are not
- Color accuracy: Compare the test screen side-by-side with a known-good screen of the same grade. Significant yellow or blue tinting indicates a color calibration issue common in budget Incell panels
What to check on touch:
- Full-surface touch test: Open a drawing or note app and drag your finger across the entire screen surface — corner to corner, edge to edge. Look for dead zones where the line breaks or the touch doesn't register
- Multi-touch: Place two fingers on the screen and pinch/zoom. Both touch points should register simultaneously
- Edge sensitivity: Swipe from the screen edges — aftermarket screens frequently have weak touch sensitivity in the outer 3–5mm, especially near the bottom corners
- 3D Touch / Haptic Touch (iPhone): If applicable, test pressure sensitivity. Not all aftermarket screens support this feature — know what your screen grade should offer
Step 4: Face ID and Sensor Check (1 minute per screen)
For iPhone screens specifically:
- Face ID: If the screen includes an earpiece/sensor assembly, test Face ID enrollment or verification. Face ID failure after screen replacement is one of the top customer complaints
- True Tone: Check if True Tone can be activated after screen installation. This depends on whether the screen has an NFC IC chip that stores display data — and whether you have a programmer to transfer it
- Proximity sensor: Make a test call and bring the screen close to your ear. The screen should turn off. A proximity sensor that doesn't work means customers will accidentally press buttons with their ear during calls
- Ambient light sensor: Go from a bright to a dim environment. The screen brightness should auto-adjust if the sensor is functioning
Want screens that consistently pass incoming QC? We test every batch before shipping and maintain a sub-1.5% defect rate across all screen grades. Request a sample to test our quality.
Step 5: Record Results
For each screen, log:
- Pass / Fail / Conditional: Pass = ready for inventory. Fail = set aside for warranty claim. Conditional = minor issue that doesn't affect functionality (e.g., slight color variance within acceptable range)
- Defect details (if applicable): Specific issue, location on screen, photo reference number
- Batch number: If screens are labeled with batch/production codes, record them. This helps trace batch-level quality issues
Step 6: Batch Summary and Supplier Communication
After inspecting the full shipment:
- Calculate your defect rate for this order (defective ÷ total × 100)
- Compare against the defect tolerance agreed with your supplier (see our guide on phone screen warranty and return terms)
- If the defect rate exceeds the agreed tolerance, contact your supplier immediately with your inspection report, photos, and defect count
- Store defective screens separately in original packaging until the warranty claim is resolved
Common Defects and What They Tell You About Your Supplier

Tracking defect types over time reveals patterns that help you evaluate supplier quality:
| Defect Type | What It Indicates | Frequency (Mid-tier Screens) |
|---|---|---|
| Dead pixels | Panel quality issue from LCD manufacturer | 1–2% of units |
| Backlight bleed / dark spots | Assembly quality issue | 0.5–1% of units |
| Touch dead zones | Digitizer bonding issue | 0.5–1.5% of units |
| Weak flex cable | Cost-cutting on materials | 1–2% (appears after 2–4 weeks) |
| Color shift / yellow tint | Panel calibration or aging stock | 2–5% on budget grades |
| Frame misalignment | Assembly line quality control | 0.5–1% of units |
| DOA (won't power on) | Serious quality or handling issue | <0.5% — if higher, switch suppliers |
Red flag patterns:
- DOA rate above 1%: The supplier has a serious quality or shipping problem. Raise it immediately or switch suppliers.
- Rising defect rates over time: Quality is slipping — likely because the supplier switched to a cheaper panel source. Address it before it gets worse.
- Same defect type recurring: Points to a systematic production issue. A good supplier will investigate and fix it; a bad one will keep shipping the same problems.
For context on how screen grades affect defect expectations, see our guide on OEM vs aftermarket phone screens.
Scaling Your QC Process: When to Test Every Screen vs. Sample
Testing every screen in a 20-piece sample order is straightforward. But what about a 500-piece shipment?
Test 100% When:
- It's your first order from a new supplier
- The previous order had a higher-than-expected defect rate
- The order contains premium screens (Soft OLED, Original refurbished) where each unit is $40+
- You're ordering for a high-profile client or project
Use Sample Testing (AQL) When:
- You've established consistent quality over 3+ orders from the same supplier
- The order is large (200+ units) and testing every screen isn't practical
- The screens are lower-value items (Incell, budget grades)
For sample testing, use a simplified AQL approach: test 20% of the shipment, randomly selected. If the defect rate in your sample exceeds your agreed tolerance, escalate to 100% inspection of the remaining units.
Setting Up Your QC Station

A dedicated QC area doesn't need much space — a clean desk with good lighting and your test fixtures is enough. Here's a practical layout:
- Receiving area: Where you open shipments and do package inspection
- Test station: Your test phones/fixtures, with proper lighting above
- Pass shelf: Inspected screens ready for inventory
- Hold area: Screens flagged for warranty claims, kept in original packaging with defect tags
- Documentation station: Laptop or tablet for logging results and taking photos
The key is separation — defective screens should never mix with passed inventory. A technician grabbing a screen for a customer repair shouldn't have to wonder whether it's been tested.
Frequently Asked Questions
How long does incoming QC take per phone screen?
With a test fixture, the full 6-step process takes approximately 5 minutes per screen. Without a fixture (full test-installation required), expect 10–15 minutes. For a 50-screen order, budget 4–5 hours with a fixture or a full day without one. The time investment pays back immediately through reduced rework and customer complaints.
Do I need a screen test fixture, or can I use a regular phone?
A test fixture is faster and more consistent, but a dedicated test phone works fine — especially for smaller shops. The main advantage of a fixture is that you don't need to fully install the screen to test it, saving removal and reinstallation time. For shops processing 50+ screens per month, a $30–80 fixture pays for itself within the first order.
What defect rate is acceptable for aftermarket phone screens?
For mid-tier screens (Incell, Hard OLED), 2–3% is the industry average. Premium Soft OLED should be under 2%. Budget screens may run 3–5%. If your incoming QC consistently shows rates above these benchmarks, the issue is with your supplier — not with aftermarket screens in general. Use your QC data to negotiate better terms or switch suppliers.
Should I reject an entire shipment if the defect rate is high?
Not necessarily. If the defect rate exceeds your agreed tolerance, contact your supplier with your inspection data. Most reputable suppliers will issue credit for the defective units and investigate the cause. Only reject the full shipment if the defect rate is extreme (above 10%) or if the defect type suggests a fundamental batch-level problem, like all screens having the same backlight issue.
How do I handle screens that pass QC but fail after customer installation?
If a screen passes your incoming test but fails within the warranty period after installation, document the failure and file a warranty claim. Track these post-installation failures separately — if they form a pattern (same batch, same defect type), it may indicate a latent defect that doesn't appear during initial testing. Discuss this with your supplier to improve future batches.
Build QC Into Your Workflow — Starting Today
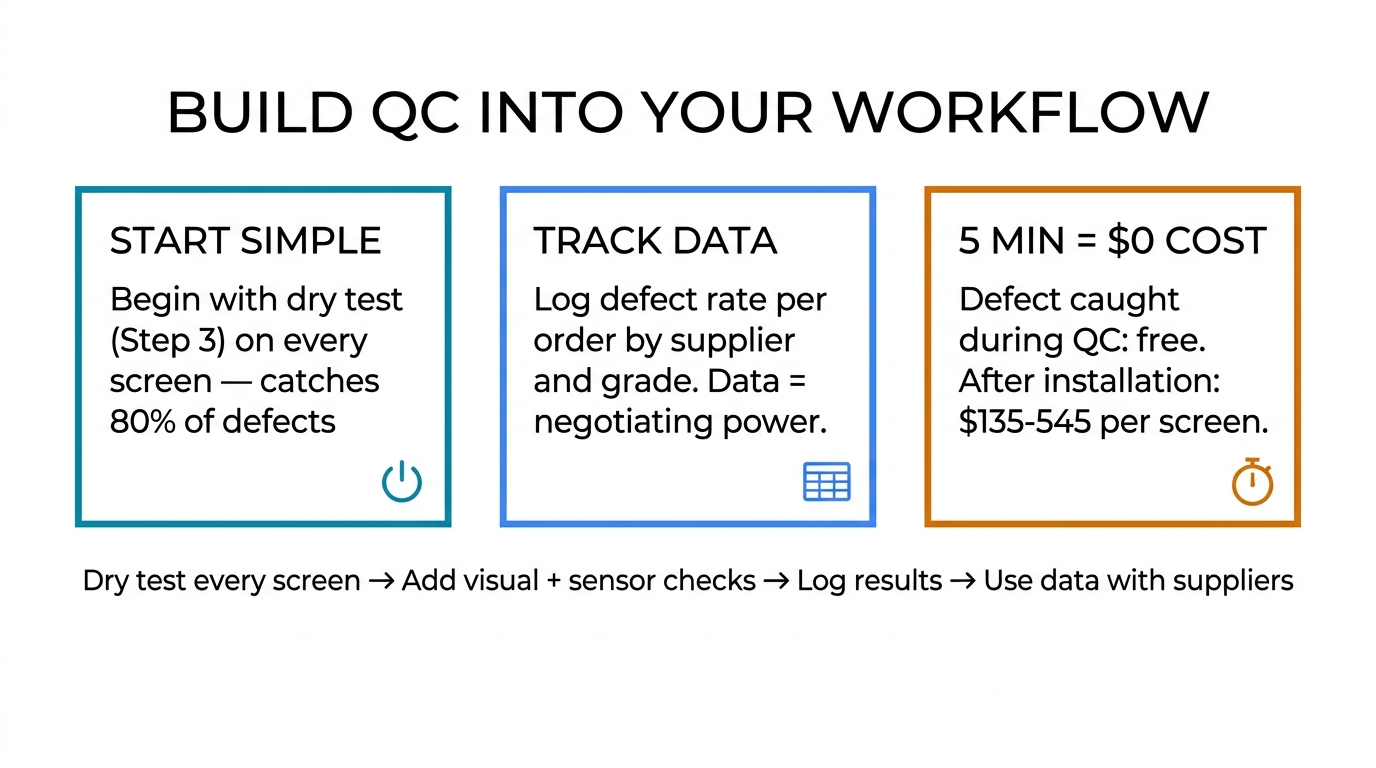
You don't need to overhaul your operation to start. Begin with the dry test (Step 3) on every screen — that alone catches 80% of defects. Add the visual inspection and sensor checks as you build the habit. Within a month, incoming QC becomes second nature, and your customer return rate drops noticeably.
The data you collect matters just as much as the testing itself. A shop that can tell a supplier "your last 6 orders averaged a 3.8% defect rate, with touch dead zones accounting for 60% of failures" commands attention. That's how you negotiate better quality, better warranty terms, and better pricing over time.
Need a supplier with consistently low defect rates? Request a wholesale quote — we'll include sample screens so you can run your own QC before committing to bulk.